Running Azure CLI With Codex In A Safer Way
Azure CLI and Codex is an amazing combo. Azure CLI gives you a complete set of commands for working with Azure, and since coding agents loves structured output, az --output json makes it easy for Codex with their latest models to figure out those commands, chaining them together, reading the output, and turning that into something useful.
Codex is OpenAI’s AI coding agent and comes in all flavours such as CLI, VS Code extension, their own app, and now finally on mobile via the ChatGPT app. I’ve been experimenting quite a bit with agents, subagents, MCP servers, CLI tooling and all these cool new things.
Now MCP servers are great, but honestly nothing beats agents working directly with CLIs. With MCP, the agent often has to load a tool schema, which burns a bunch of tokens before any work is even started. You’re also limited by what the MCP server exposes. Just look at the new Azure Resource Manager MCP: right now it can query Resource Graph and deploy ARM templates. It’s a solid start, but it’s still nowhere near the flexibility of the Azure CLI that the models already knows the ins and outs of.
This post is about one specific thing I wanted to figure out: how to let Codex use Azure CLI in a safe way without giving it danger-full-access and access to all the normal Azure CLI state on my machine. If you already use Azure CLI on your machine, then your normal ~/.azure folder can have cached tokens, profile data, old tenant context, installed extensions, and other stuff you maybe do not want an agent session touching.
Now you might be reading ~/.azure and thinking that you’re on Windows. I was too since maybe a month ago when I did something I never thought I’d do and swapped to Mac for work. I’ve been on Windows since dial-up was a thing and we played CS against bots. Let’s just say the transition hasn’t been the easiest, there’s a lot to learn.
In my testing, Windows was the difficult one, especially when trying to make agent sandboxing work smoothly with Azure CLI. Most of the time to actually get the full benefit on Windows you end up needing danger-full-access mode. That’s not great because at that point the agent is not just helping inside one safe little box. It can read or change anything on your system that your user can. Realistically that means wrong files can get deleted, config can get rewritten, repos can get messed up, local secrets can get read, old token caches can get picked up, and data can leave the machine if the agent is tricked into sending it somewhere because of prompt injection.
Codex Configuration and Modes
Codex can be configured in multiple locations. The default config file resides in ~/.codex/config.toml or C:\Users\<username>\.codex\config.toml on Windows. You can also have project specific toml files that override the global toml file by creating the file .codex/config.toml in some other folder and then making sure you trust that folder in Codex for it to load properly.
Now you can do a ton of configuration of Codex. Two of the most important ones to keep in mind are sandbox_mode and approval_policy. These two control what sandbox mode Codex operates in, and also what it can autonomously do before asking for approval.
Codex supports the following sandbox modes using sandbox_mode = mode.
read-only: Codex can inspect files, but it can’t edit files or run commands without approval.workspace-write: Codex can read files, edit within the workspace, and run routine local commands inside that boundary. This is the default low-friction mode for local work.danger-full-access: Codex runs without sandbox restrictions. This removes the filesystem and network boundaries and should be used only when you want Codex to act with full access.
Codex also supports the following approval modes using approval_policy = mode.
untrusted: Ask before running untrusted commands. Some safe read operations can run automatically.on-request: Ask when Codex needs approval, such as sandbox escalation, network access, or actions outside allowed permissions.never: Never ask.
Looking at a few examples, the below one uses workspace-write with never as approval policy. Here you’re constrained to working with files in your workspace and you don’t have any outbound network access as network_access = false is the default option in workspace-write.
1
2
3
4
sandbox_mode = "workspace-write"
approval_policy = "never"
model = "gpt-5.5"
model_reasoning_effort = "high"
What is network_access then? It’s the on/off switch for outbound internet access from shell commands running inside the Codex sandbox. It must be enabled for tools such as Azure CLI, curl, or any other locally installed tools that need network access to work. Now the moment you enable network_access you’re a target of data exfiltration attacks through prompt injection. Codex could be tricked into running a malicious command or script, it may read something on a GitHub issue or a README page.
If you wanted to enable network access for workspace-write you can do that by adding some more config to the toml file.
1
2
3
4
5
6
7
sandbox_mode = "workspace-write"
approval_policy = "never"
model = "gpt-5.5"
model_reasoning_effort = "high"

[sandbox_workspace_write]
network_access = true
With this configuration Codex can only edit files inside your workspace, but it can read a whole lot more, such as ~/.azure where our token cache is. We also have unrestricted network access.
Restricting Network Access
Using the config file, we can control what Codex is allowed to access on the internet.
This exact setup took me way too long to figure out, and honestly, I wish the OpenAI docs were a bit more forgiving. Some settings appear to conflict with each other, and when they do, it’s barely ever clear which setting wins. I also ran into behavior that did not seem to match the docs, such as custom profiles not honoring my settings when launching Codex with codex --profile <name>.
Rant aside, the config below is what allowed me to run Azure CLI in a safer way, because Codex is only allowed to make outbound requests to specific domains. To be clear, this doesn’t eliminate exfiltration, it just makes it safer.
The important thing to understand is that once you start using a custom permission profile, such as [permissions.<name>.*], you are effectively defining a new permission set from scratch, so you need to rebuild the parts you still want: filesystem access, network access, project write access, temp directory access, etc.
1
2
3
4
5
6
7
8
9
10
11
12
13
14
15
16
17
18
19
20
21
22
23
24
25
26
27
28
29
30
31
32
33
34
35
36
37
38
39
40
41
42
43
44
45
46
47
48
49
50
51
52
53
54
55
56
57
58
59
60
61
sandbox_mode = "workspace-write"
approval_policy = "never"
model = "gpt-5.5"
model_reasoning_effort = "high"

# Define a profile called "az"
# Should be able to launch it and honor my settings with: codex --profile az
# Instead had to force it with: codex -c default_permissions=az
[profiles.az]
default_permissions = "az"

# Enable network access for the "az" profile
# Important: This is different from sandbox_workspace_write.network_access = true.
[permissions.az.network]
enabled = true

# You can select between "limited" and "full". My testing with limited didn't allow me to connect to HTTPS sites.
mode = "full"

# Domain allowlist for the "az" profile
[permissions.az.network.domains]
"api.openai.com" = "allow"
"login.microsoftonline.com" = "allow"
"management.azure.com" = "allow"
"management.core.windows.net" = "allow"
"graph.microsoft.com" = "allow"
"api.loganalytics.io" = "allow"
"*.api.loganalytics.io" = "allow"
"*.ods.opinsights.azure.com" = "allow"
"*.oms.opinsights.azure.com" = "allow"
"*.monitor.azure.com" = "allow"
"api.applicationinsights.io" = "allow"
"*.api.applicationinsights.io" = "allow"
"*.applicationinsights.azure.com" = "allow"
"dc.services.visualstudio.com" = "allow"
"*.kusto.windows.net" = "allow"
"*.kusto.azure.com" = "allow"
"aka.ms" = "allow"
"azcliprod.blob.core.windows.net" = "allow"
"example.com" = "deny"

# Filesystem permissions for the "az" profile
[permissions.az.filesystem]

# Allow Codex to read the minimal set of files it needs to function
":minimal" = "read"

# Allow tools to write temporary files. Many CLIs need this.
":tmpdir" = "write"

# Allow Codex to read and write the current project root.
# "." means the project directory where Codex was launched.
":project_roots" = { "." = "write" }

# Allow Codex to read Homebrew-installed tools and libraries.
# On my machine, Azure CLI is installed through Homebrew. If we don't allow the homebrew path, we can't even run az because of error:
# zsh:1: operation not permitted: az
"/opt/homebrew" = "read"

# Allow Azure CLI to read and write to its native directory. Every time a command is run it tries to write logging to `~/.azure/commands`.
"/Users/hardstahl/.azure" = "write"
Once defined, launch Codex using: codex -c default_permissions=az
Access Management
What we went through so far is just one of many things to consider when letting agents free in your tenants, and these issues are not specific to Codex. All the other agents like GitHub Copilot and Claude also have them and you should configure them properly as well.
Another thing to consider is Azure RBAC and Entra access. What permissions does the account you login with have?
I’d recommend not to use your daily admin account. One bad prompt, missing guardrails in AGENTS.md, or even the model having a bad day could cause havoc. Majority of the time I just need Reader to look things up or do some troubleshooting. For this I use a service prinicpal per tenant with Reader in Azure and some x.Read.All Graph permissions. Don’t add any data-plane access!
This script will create a certificate based service principal in the tenant you’re currently logged in to. It creates a folder under ~/agentauth/<tenant-label>, generates a self-signed certificate and key, and registers the public certificate with the SP.
1
2
3
4
5
6
7
8
9
10
11
12
13
14
15
16
17
18
19
20
21
22
23
24
25
26
27
28
29
30
31
32
33
34
35
36
37
38
#--- Set these variables ---#
# Name of the service principal
export SP_NAME="sp-agent-reader"

# Name of the folder to create where cert is stored, not the actul tenant name
export TENANT_LABEL="labstahl"

#--- Execute ---#
export WORKDIR="$HOME/agentauth/$TENANT_LABEL"
mkdir -p "$WORKDIR"
chmod 700 "$WORKDIR"

export KEY_PEM="$WORKDIR/key.pem"
export PUBLIC_CERT_PEM="$WORKDIR/public-cert.pem"
export LOGIN_CERT_PEM="$WORKDIR/cert.pem"

openssl req -x509 -nodes -days 365 \
  -newkey rsa:2048 \
  -keyout "$KEY_PEM" \
  -out "$PUBLIC_CERT_PEM" \
  -subj "/CN=$SP_NAME"

cat "$KEY_PEM" "$PUBLIC_CERT_PEM" > "$LOGIN_CERT_PEM"
chmod 600 "$KEY_PEM" "$PUBLIC_CERT_PEM" "$LOGIN_CERT_PEM"

SP_JSON="$(az ad sp create-for-rbac \
  --name "$SP_NAME" \
  --cert @"$PUBLIC_CERT_PEM" \
  --create-password false \
  --output json)"

export APP_ID="$(printf '%s' "$SP_JSON" | jq -r '.appId')"
export TENANT_ID="$(printf '%s' "$SP_JSON" | jq -r '.tenant')"
export CERT_PATH="$LOGIN_CERT_PEM"

echo "Application/client ID: $APP_ID"
echo "Tenant ID: $TENANT_ID"
echo "Certificate for login: $CERT_PATH"
The script will output some required info needed when you login:
1
2
3
Application/client ID: 00000000-0000-0000-0000-000000000000
Tenant ID: 00000000-0000-0000-0000-000000000000
Certificate for login: /Users/hardstahl/agentauth/labstahl/cert.pem
Once the SP is created, you’ll need to assign it the permissions you require. When that is done you can login to Azure and then start your agent session.
1
2
3
4
az login --service-principal \
  --username "00000000-0000-0000-0000-000000000000" \
  --tenant "00000000-0000-0000-0000-000000000000" \
  --certificate "/Users/hardstahl/agentauth/labstahl/cert.pem"
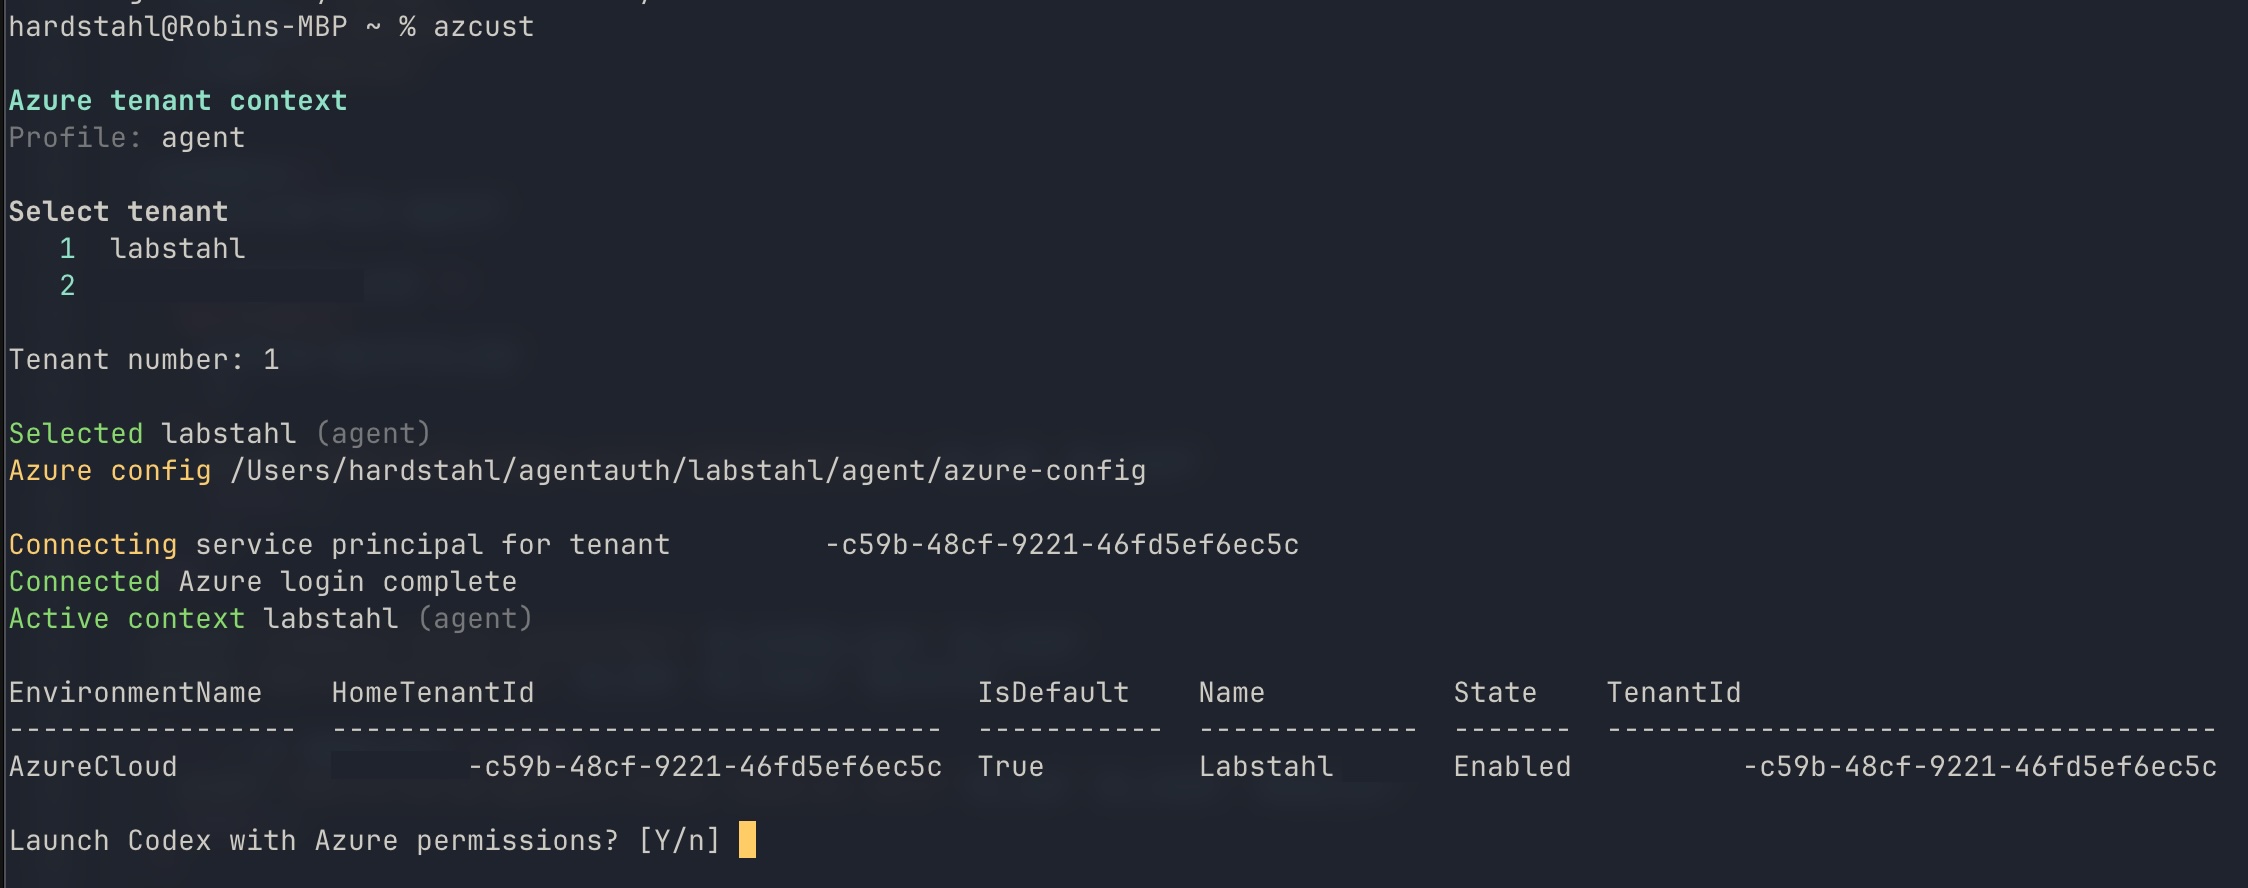
If you manage multiple tenants, wrapping this in a small helper makes life much easier. Each tenant gets its own folder with metadata for the tenant ID, client ID, and certificate path. Running the helper lets you pick a tenant, loads that metadata, and signs in with the SP.
Redirect Azure CLI State
This post is becoming too long, but I can’t end it without mentioning AZURE_CONFIG_DIR.
Azure CLI supports AZURE_CONFIG_DIR, which changes where it stores profile data, token cache, extensions, logs, and more. Instead of letting the agent use your normal ~/.azure folder, you can give it a separate home.
Setting this is only for the current terminal session and any spawned subprocesses, so the moment you start a new terminal, you’re back to using ~/.azure again.
1
2
export AZURE_CONFIG_DIR=/Users/hardstahl/agentauth/labstahl/azure-config
az login
That makes the agent use its own Azure CLI state, but we can take it one step further. In the Codex permission profile, allow the dedicated agent auth folder and deny the normal global Azure CLI folder:
1
2
3
4
5
6
7
[permissions.az.filesystem]
":minimal" = "read"
":tmpdir" = "write"
":project_roots" = { "." = "write" }
"/opt/homebrew" = "read"
"/Users/hardstahl/agentauth" = "write" # Allow this or go even further down. Maybe a profile per tenant?
"/Users/hardstahl/.azure" = "none" # Disable
With that none rule in place, the usual token cache and CLI history under ~/.azure are invisible to the agent.
The Windows Problem
All my testing with Windows led me to use danger-full-access for a working setup. I think it’s because the Azure CLI MSAL cache is stored as an encrypted file and the library there uses DPAPI. That must be decrypted using the Windows logon credentials.
Codex on Windows with workspace-write use these accounts:
CodexSandboxOfflinefor sandboxed runs without networkCodexSandboxOnlinefor sandboxed runs with network
Final Thoughts
Honestly, this gets complicated so fast, and how do we even manage this at scale for many machines? So much to think about and too many things to configure. Now, is it worth going through all this effort to secure our agents when we do what we do on our machines? I don’t have an answer to this and I don’t know how much of an issue it is, but it’s definitely a real risk to consider.
I work as a consultant, imagine if I were to run agents in my customer’s tenants and something breaks or gets leaked. It’s not just Azure though, this relates to everything our agents touch as soon as we enable network for them.
With that said, it’s an amazing combo and you should definitely give it a try. Just be a bit careful! :-)